Standalone Builds
SplitShire (Public Domain)Table of Contents
- Preface
- Introduction
- Packaging
- Where to Start Packaging
- Anatomy of a Package
- Publishing Packages
- Building Packages
- Standalone Builds
- Managing Dependencies
- Code Quality
- Linting
- Code Formatting
- Typing
- Testing
- Infrastructure
- Processes
- Continuous Integration
- Automation
- Documentation
- README
- Change Logs
- Site
- API Documentation
- Other Types of Documentation
- Linting and Formatting
- Future
- Longevity
- Marketing
- Appendices
- Managing Packages Using a Monorepo
- Customizing ESLint
The scenarios covered in the previous chapter are enough if you consume packages through npm. There may be users that prefer pre-built standalone builds or bundles instead. This comes with a several advantages:
- Everything is packaged into a single file.
- You can include the bundle using a
<script>tag. - The build can be served through a Content Delivery Network (CDN), like unpkg.
- The build can be integrated easily to online code playgrounds, like JS Bin.
For example, you can add React to your page using its browser bundle:
<!-- Note: when deploying, replace "development.js" with "production.min.js". -->
<script
  src="https://unpkg.com/react@16/umd/react.development.js"
  crossorigin
></script>
<script
  src="https://unpkg.com/react-dom@16/umd/react-dom.development.js"
  crossorigin
></script>
You don’t need to setup any build process, and it’s a great option for quick prototyping.
To make a bundle for your own library, you need to use a bundler, such as webpack, Rollup, or Parcel.
How Bundlers Work#

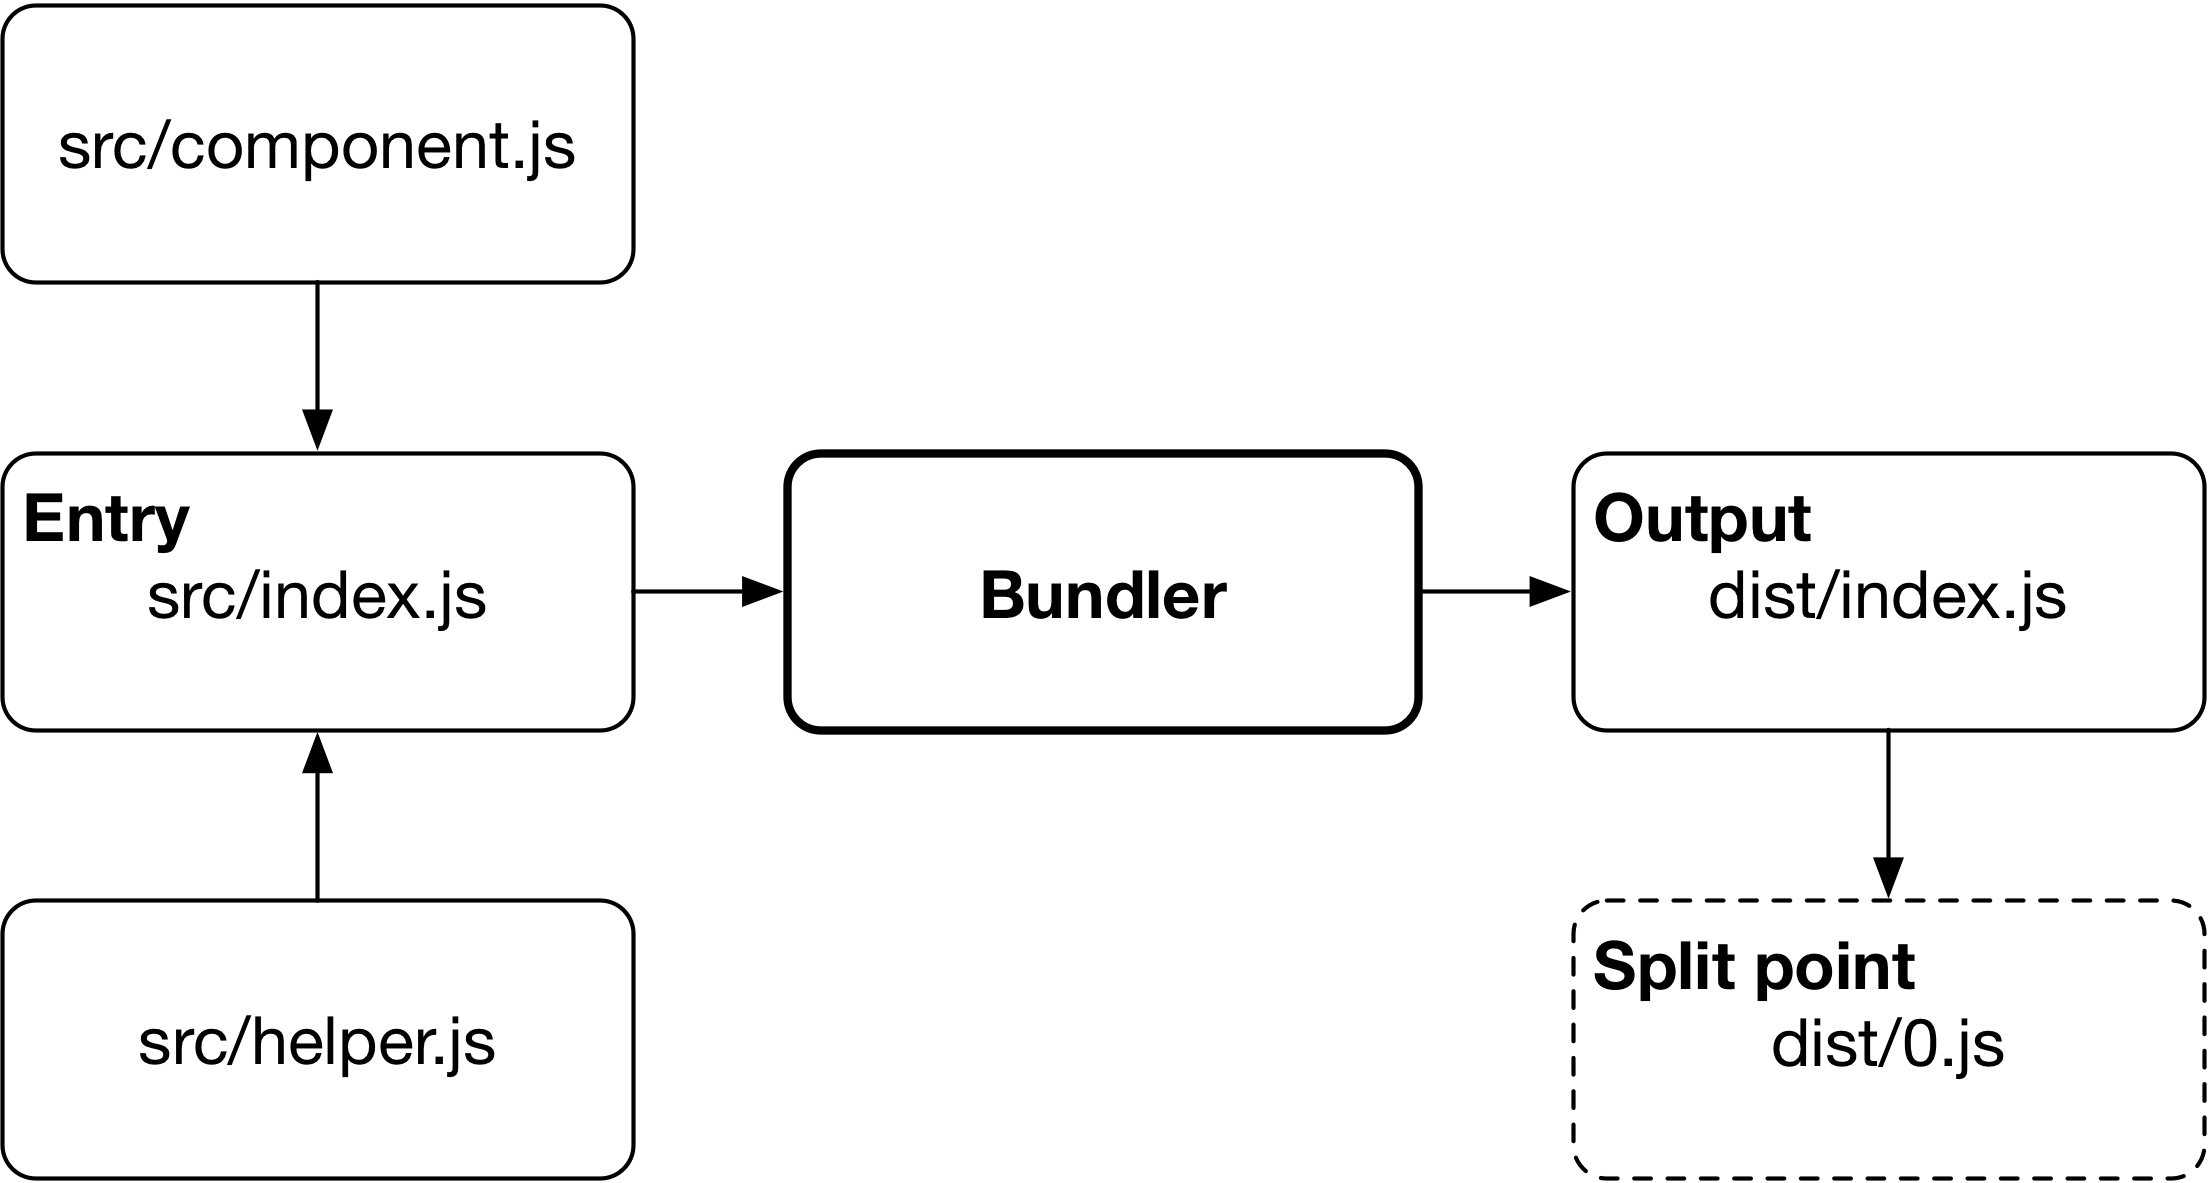
A bundler takes an entry point — your main source file — and produces a single file that contains all dependencies and converted to format, that browsers can understand.
Application-oriented bundlers, like webpack, allow you to define split points which generate dynamically loaded bundles. The feature can be used to defer loading of certain functionality and it enables powerful application development patterns such as Progressive Web Apps.
Webpack and Rollup: the same but different explains how webpack and Rollup differ. To summarize, webpack works better for applications while Rollup is a better choice for libraries.
You can also use webpack and Rollup together through rollup-loader and leave JavaScript handling to Rollup as this enables tree shaking through Rollup and allows you to use Rollup specific plugins.
Both webpack and Rollup support scope hoisting. It’s a performance oriented feature that pulls modules into a single scope instead of writing separate scope for each module. This reduces the overhead related to function calls.
Universal Module Definition (UMD)#
To make the generated bundle work in different environments, bundlers support Universal Module Definition (UMD). The UMD wrapper allows the code to be consumed in browsers and Node (CommonJS).
UMD isn’t as relevant anymore as it used to be in the past but it’s good to be aware of the format as you come around it.
Generating a Bundle Using Microbundle#
Microbundle is a zero-configuration tool, based on Rollup, to create bundles for browsers (UMD), Node (Common.js), and bundlers with ECMAScript modules support, like webpack.
To illustrate bundling, set up an entry point as below:
index.js
export default function demo() {
  console.log('demo');
}
Create a package.json with a build script and entry points:
package.json
{
  "name": "bundling-demo",
  "main": "dist/index.js",
  "umd:main": "dist/index.umd.js",
  "module": "dist/index.m.js",
  "scripts": {
    "build": "microbundle"
  }
}
Install Microbundle:
npm install --save-dev microbundle
Then run npm run build, and examine the generated dist directory.
The dist/index.js is a Common.js build, that you can use in Node:
node
> require('./dist/index.js')()
demo
undefined
The dist/index.m.js is build for bundlers, like webpack, that you can import in another ECMAScript module:
import demo from './dist/index.m.js';
demo();
And the dist/index.umd.js is a browser build, that you can use in HTML:
<script src="./dist/index.umd.js"></script>
If you publish your library to npm, your users could import it by its name in Node or webpack, thanks to main and module fields in our package.json:
import demo from 'bundling-demo';
demo();
Conclusion#
Generating standalone builds is another responsibility for the package author, but they make your users’ experience better by giving them bundles that are the most suitable for the tools they are using, whether it’s Node, webpack, or plain HTML.
You’ll learn how to manage dependencies in the next chapter.
This book is available through Leanpub. By purchasing the book you support the development of further content.